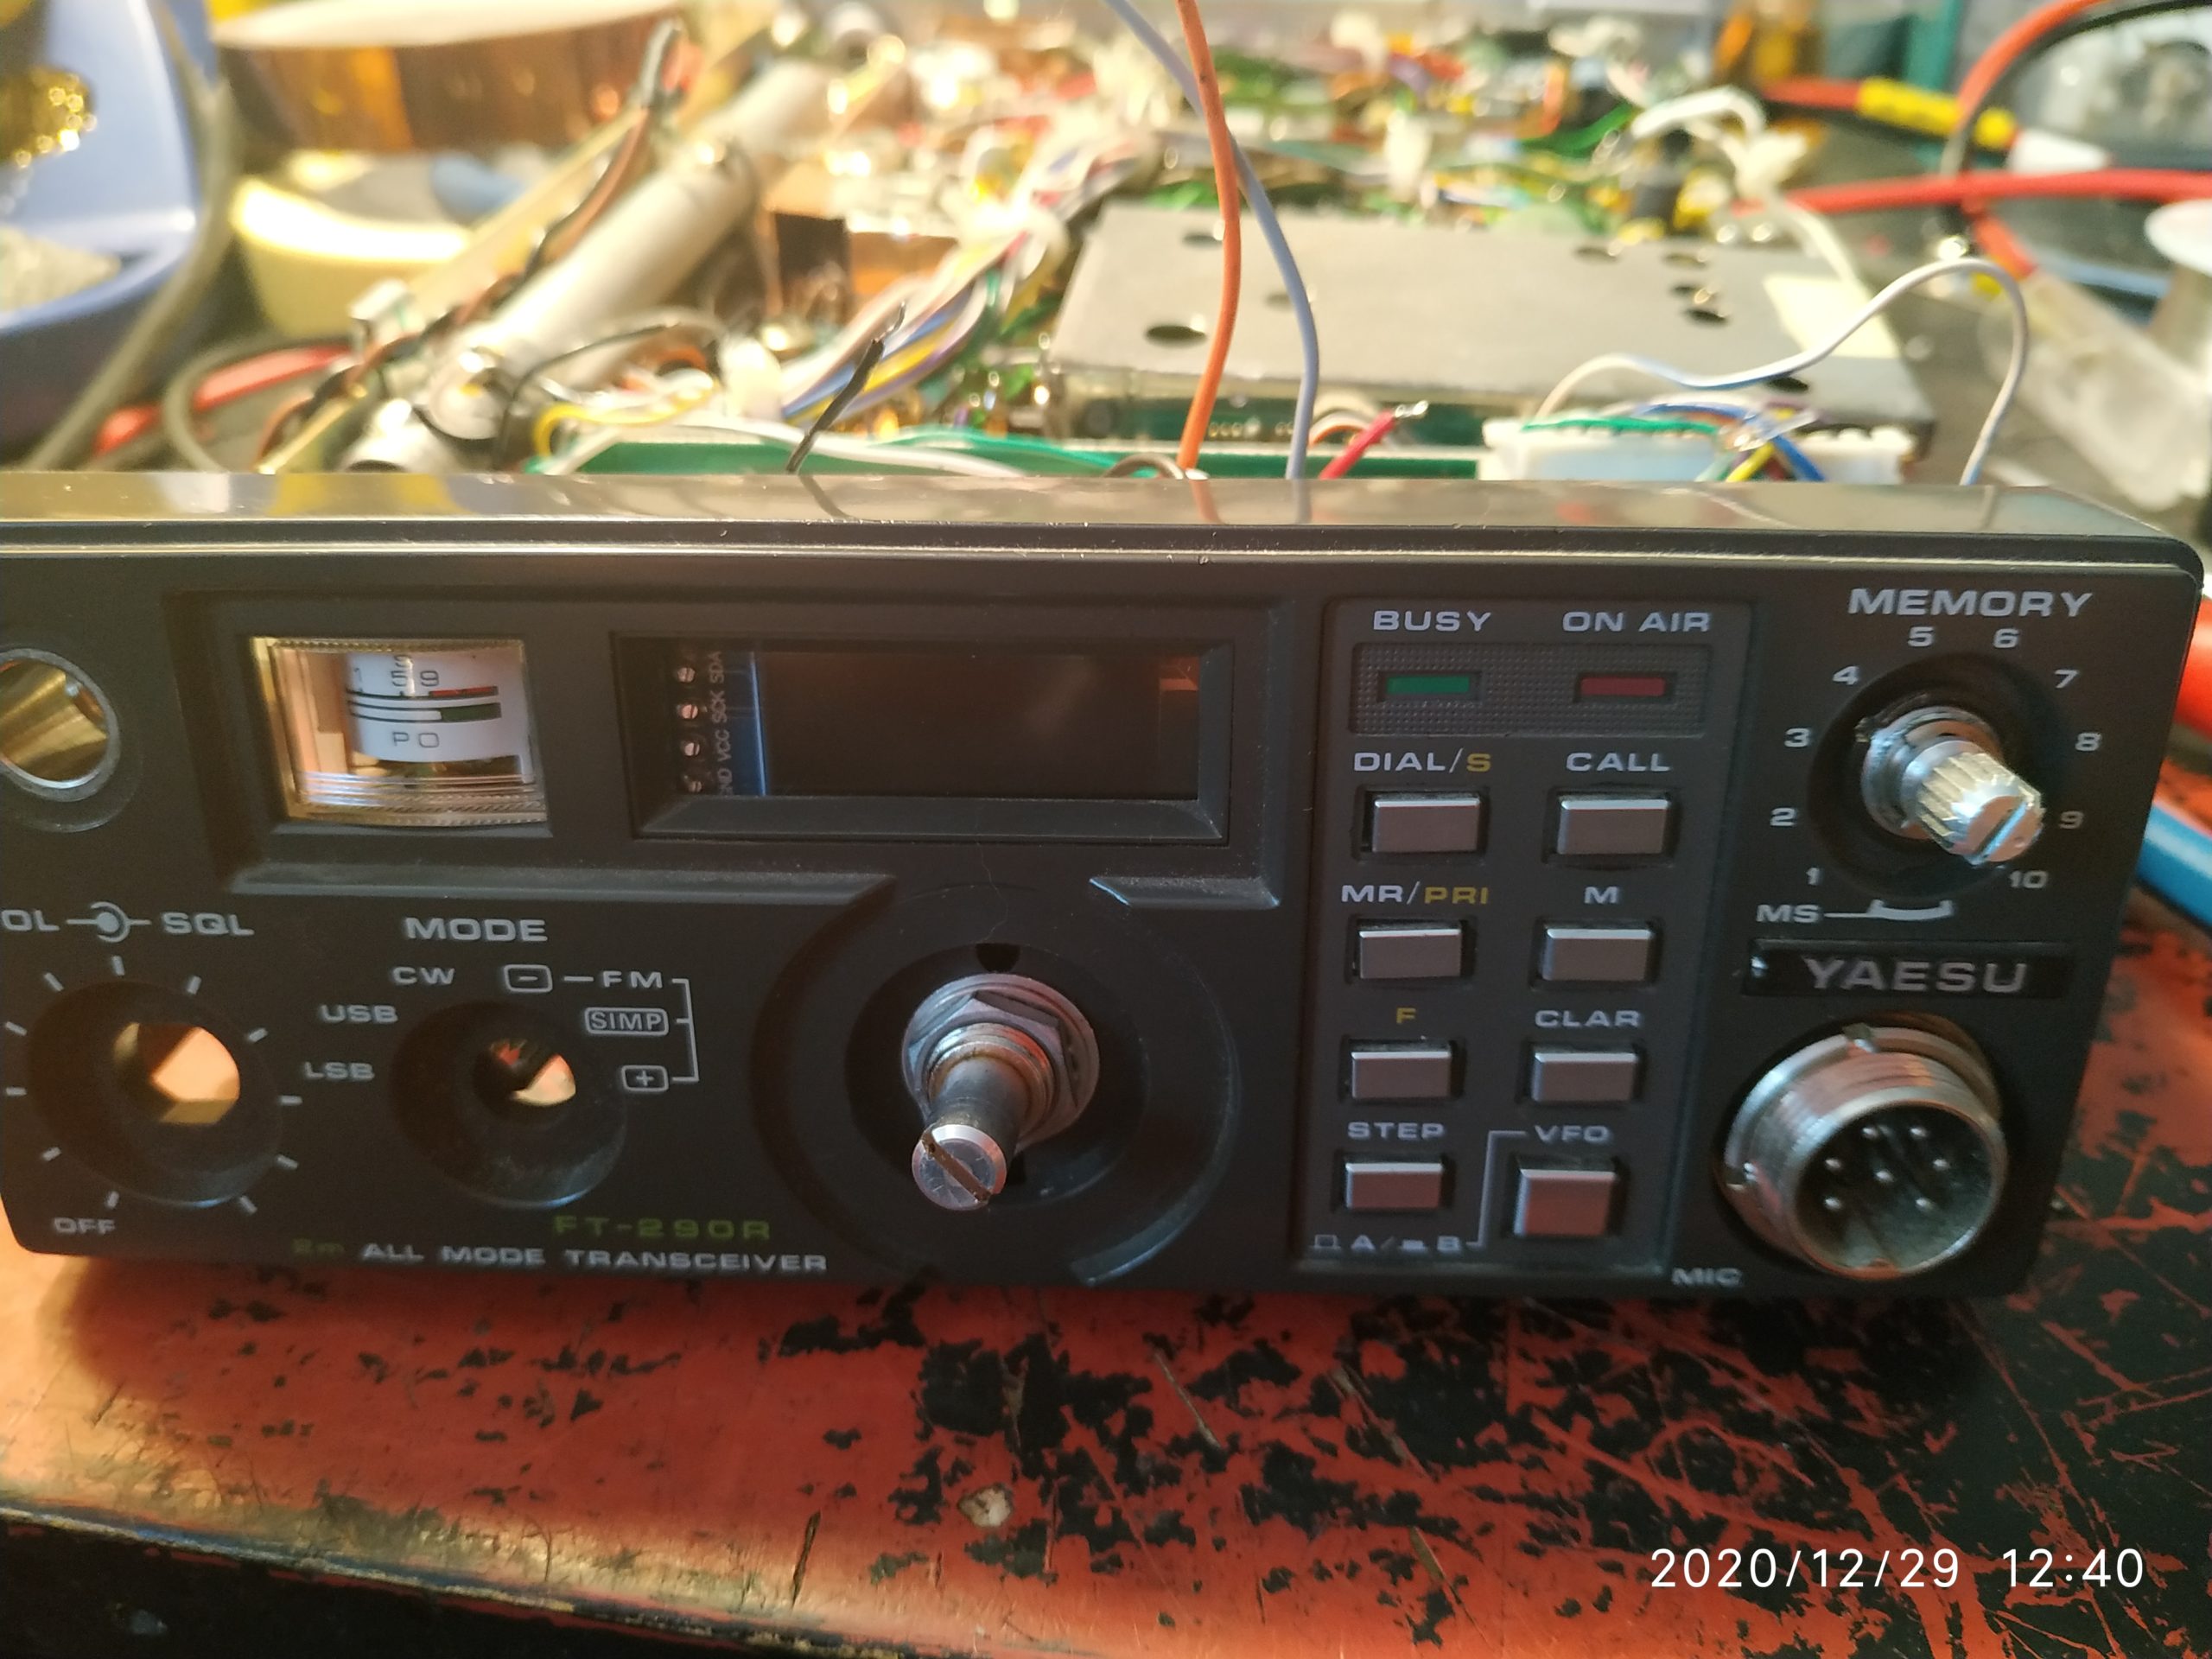
If you have ordered the OLED screen you may need this little guide to install it inside your favorite rig. In this guide FT-290 is taken as an example, for other models refer to the corresponding Yaesu manual.
The installation itself is not difficult at takes around 1 hour with a coffee break.
All procedures can be split into these steps:
- Before taking your screwdriver check the OLED. Connect it to +12V power supply (see image in one of the steps below). Welcome screen should appear.
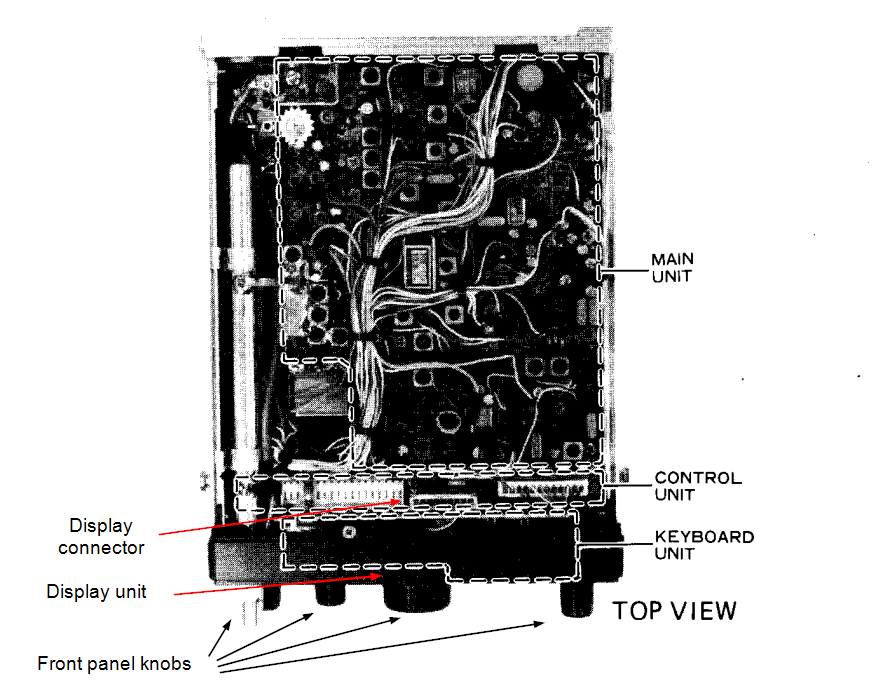
- Remove top, bottom and side parts of the FT-290 case.
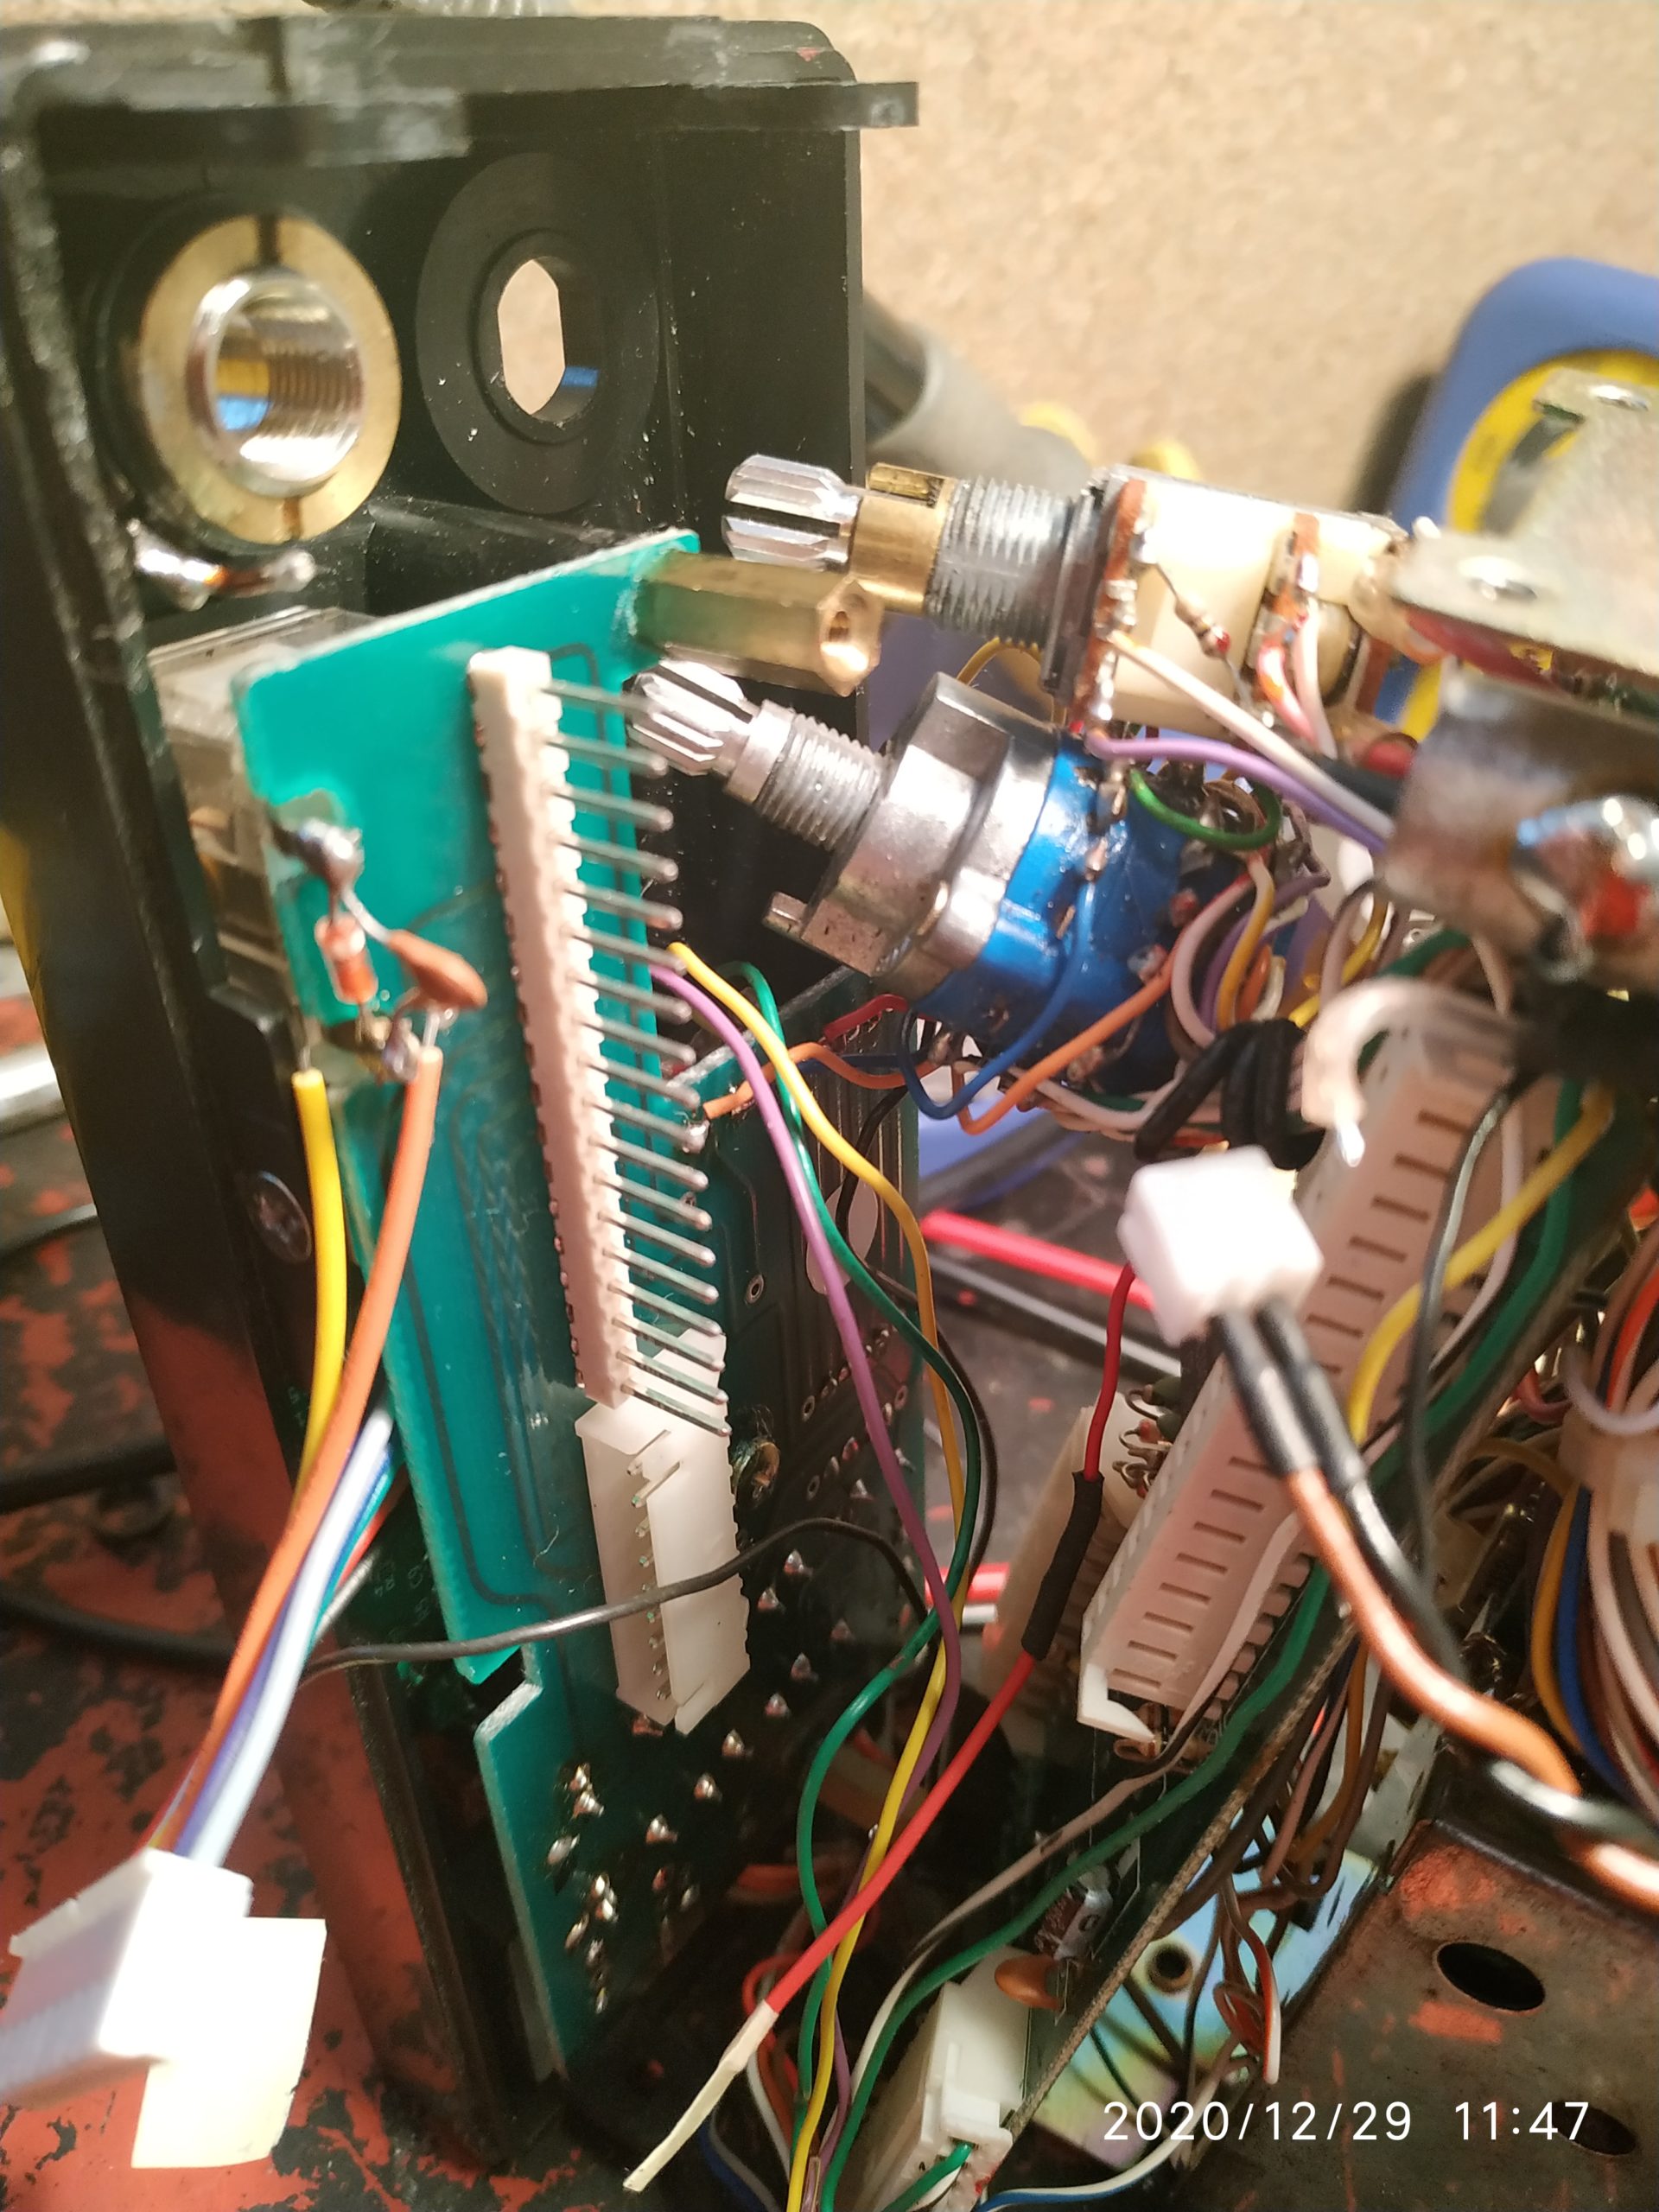
- Remove all front panel knobs by simply pulling them. Also unscrew rotary elements behind knobs.
- Gently pull on front panel. Control board and keyboard are hold together by a couple of bolts and form a sandwich which we need to separate.
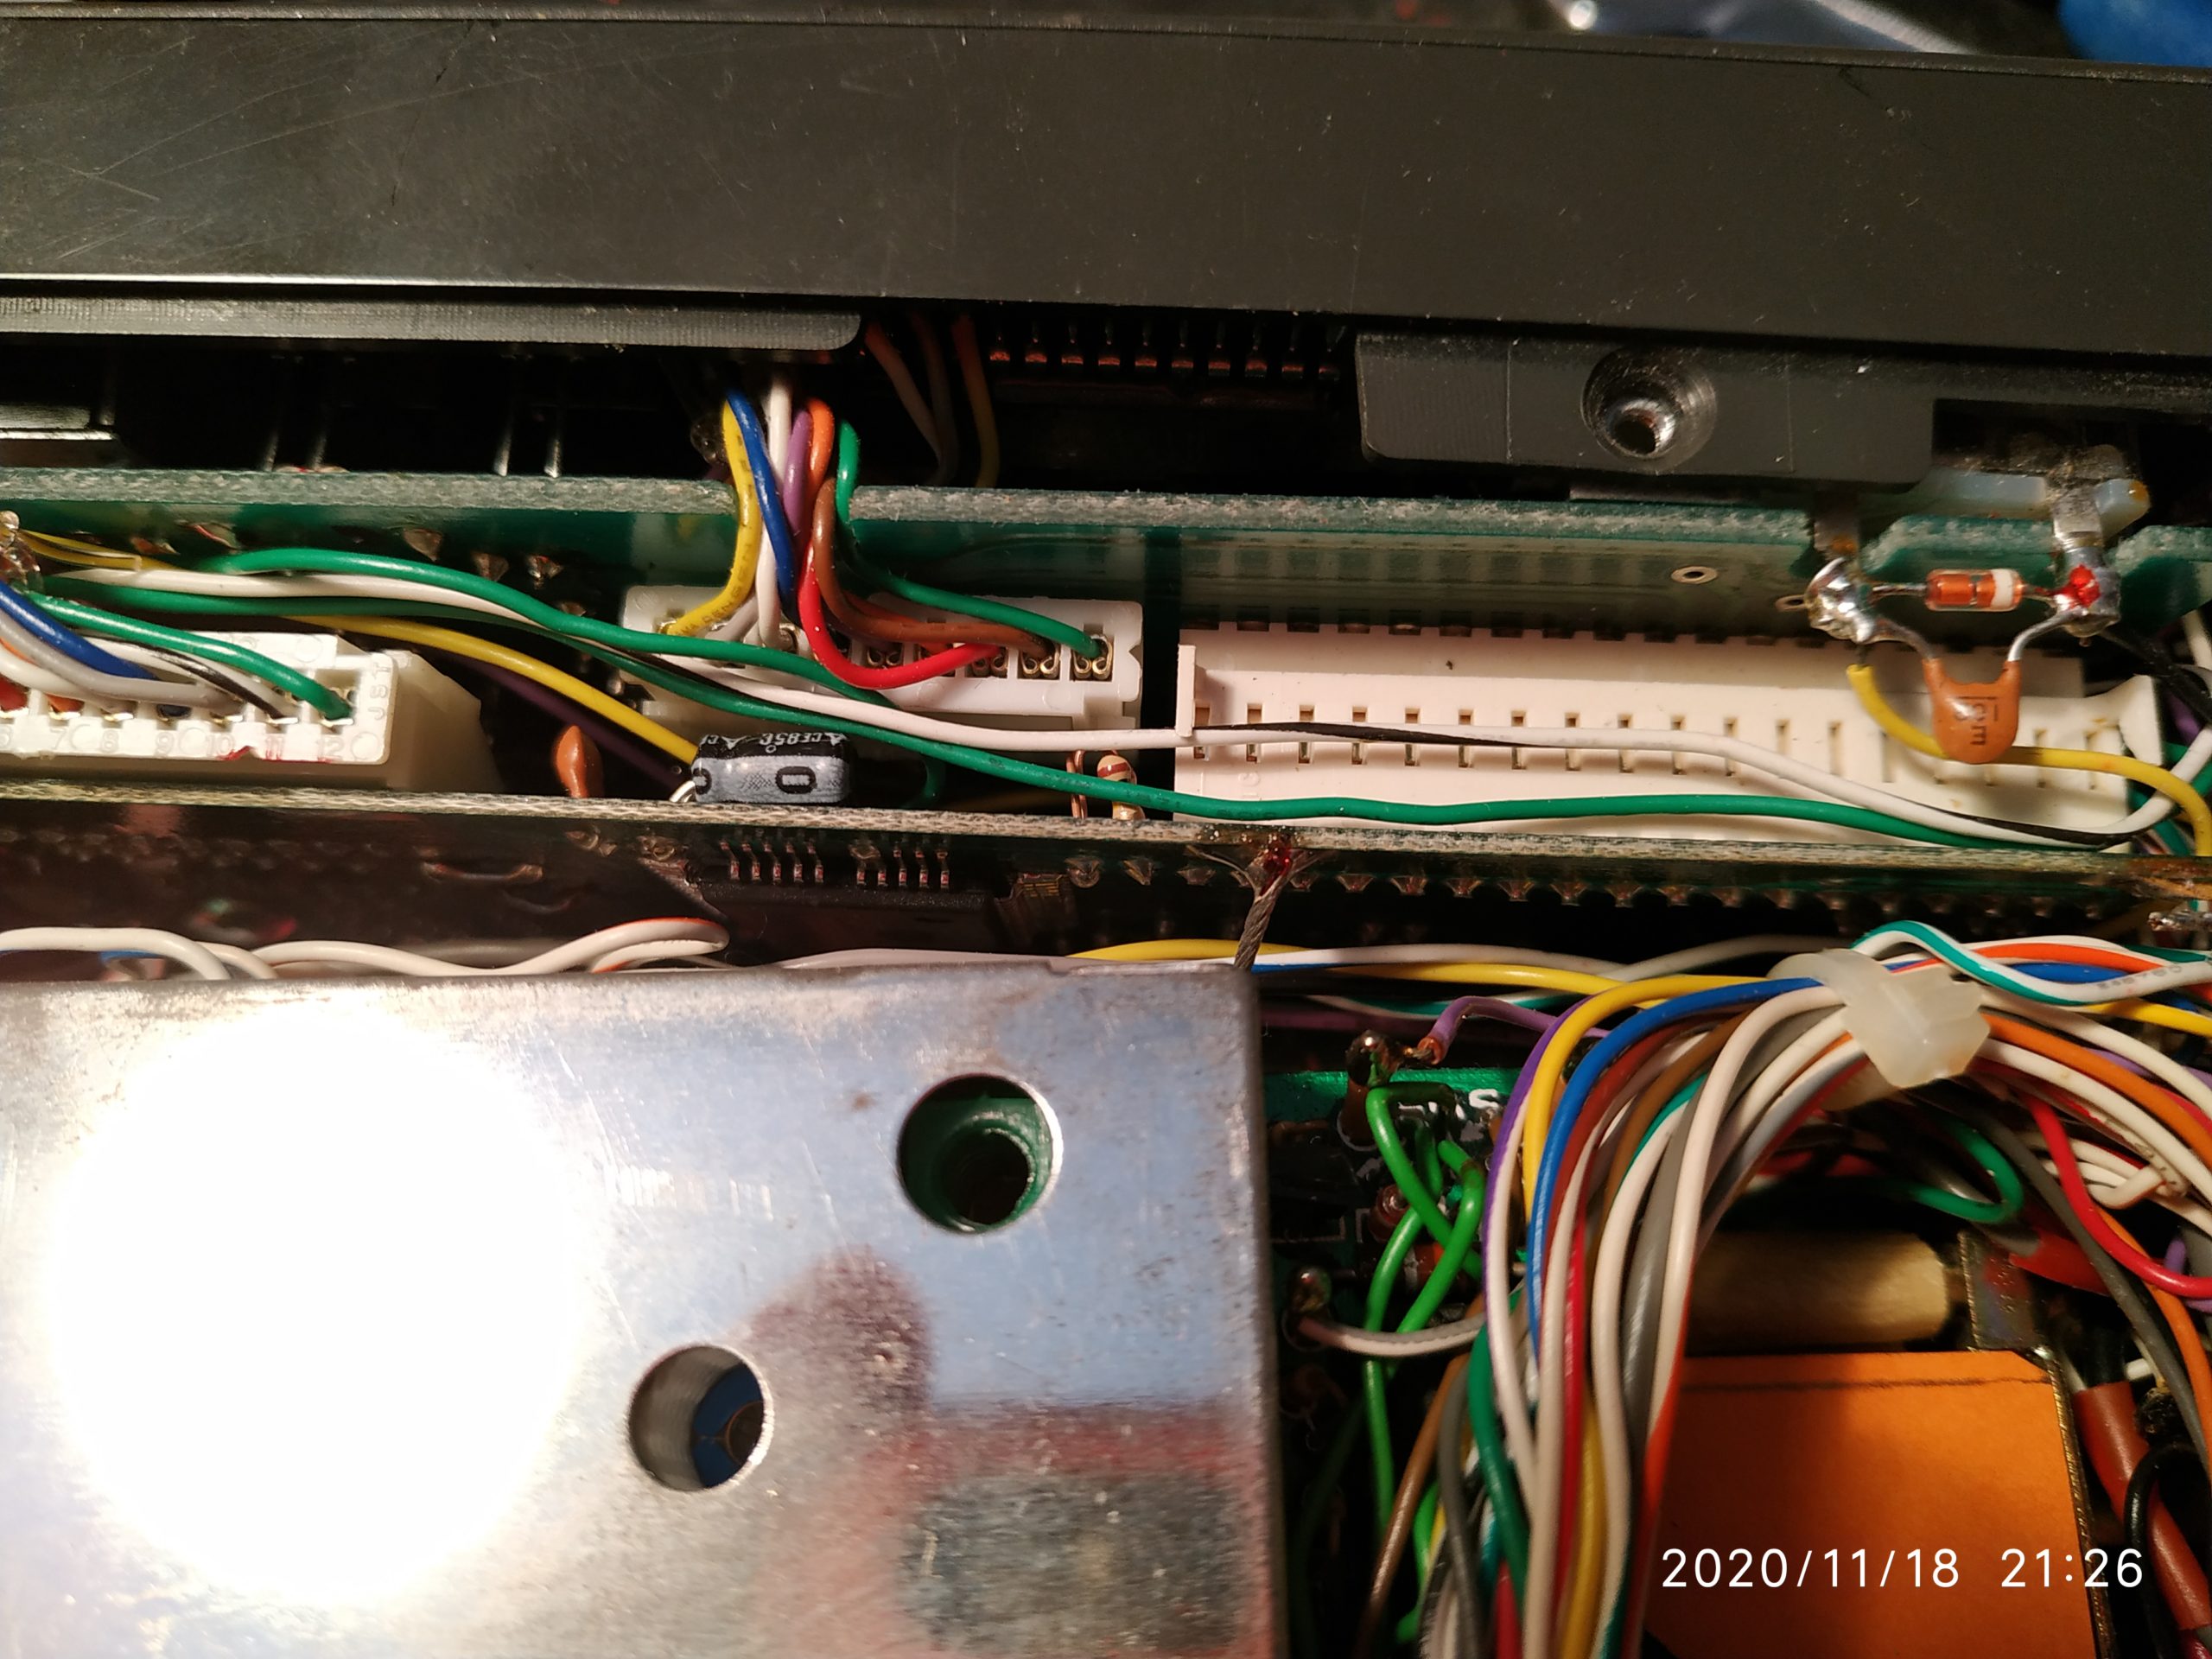
- Once done, we gain the access to the display unit. Unplug it from the keyboard unit (9 pin connector).
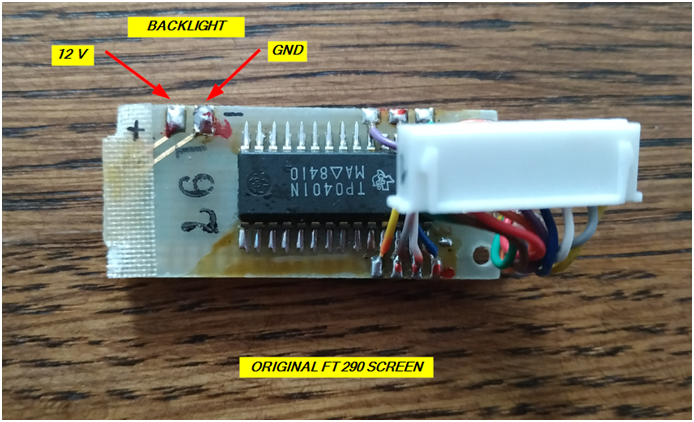
- Desolder red and black wires from the original (old and ugly) display. These two wires serves as a +12V source and power supply the backlight of the S meter. We need them to power up the OLED module.
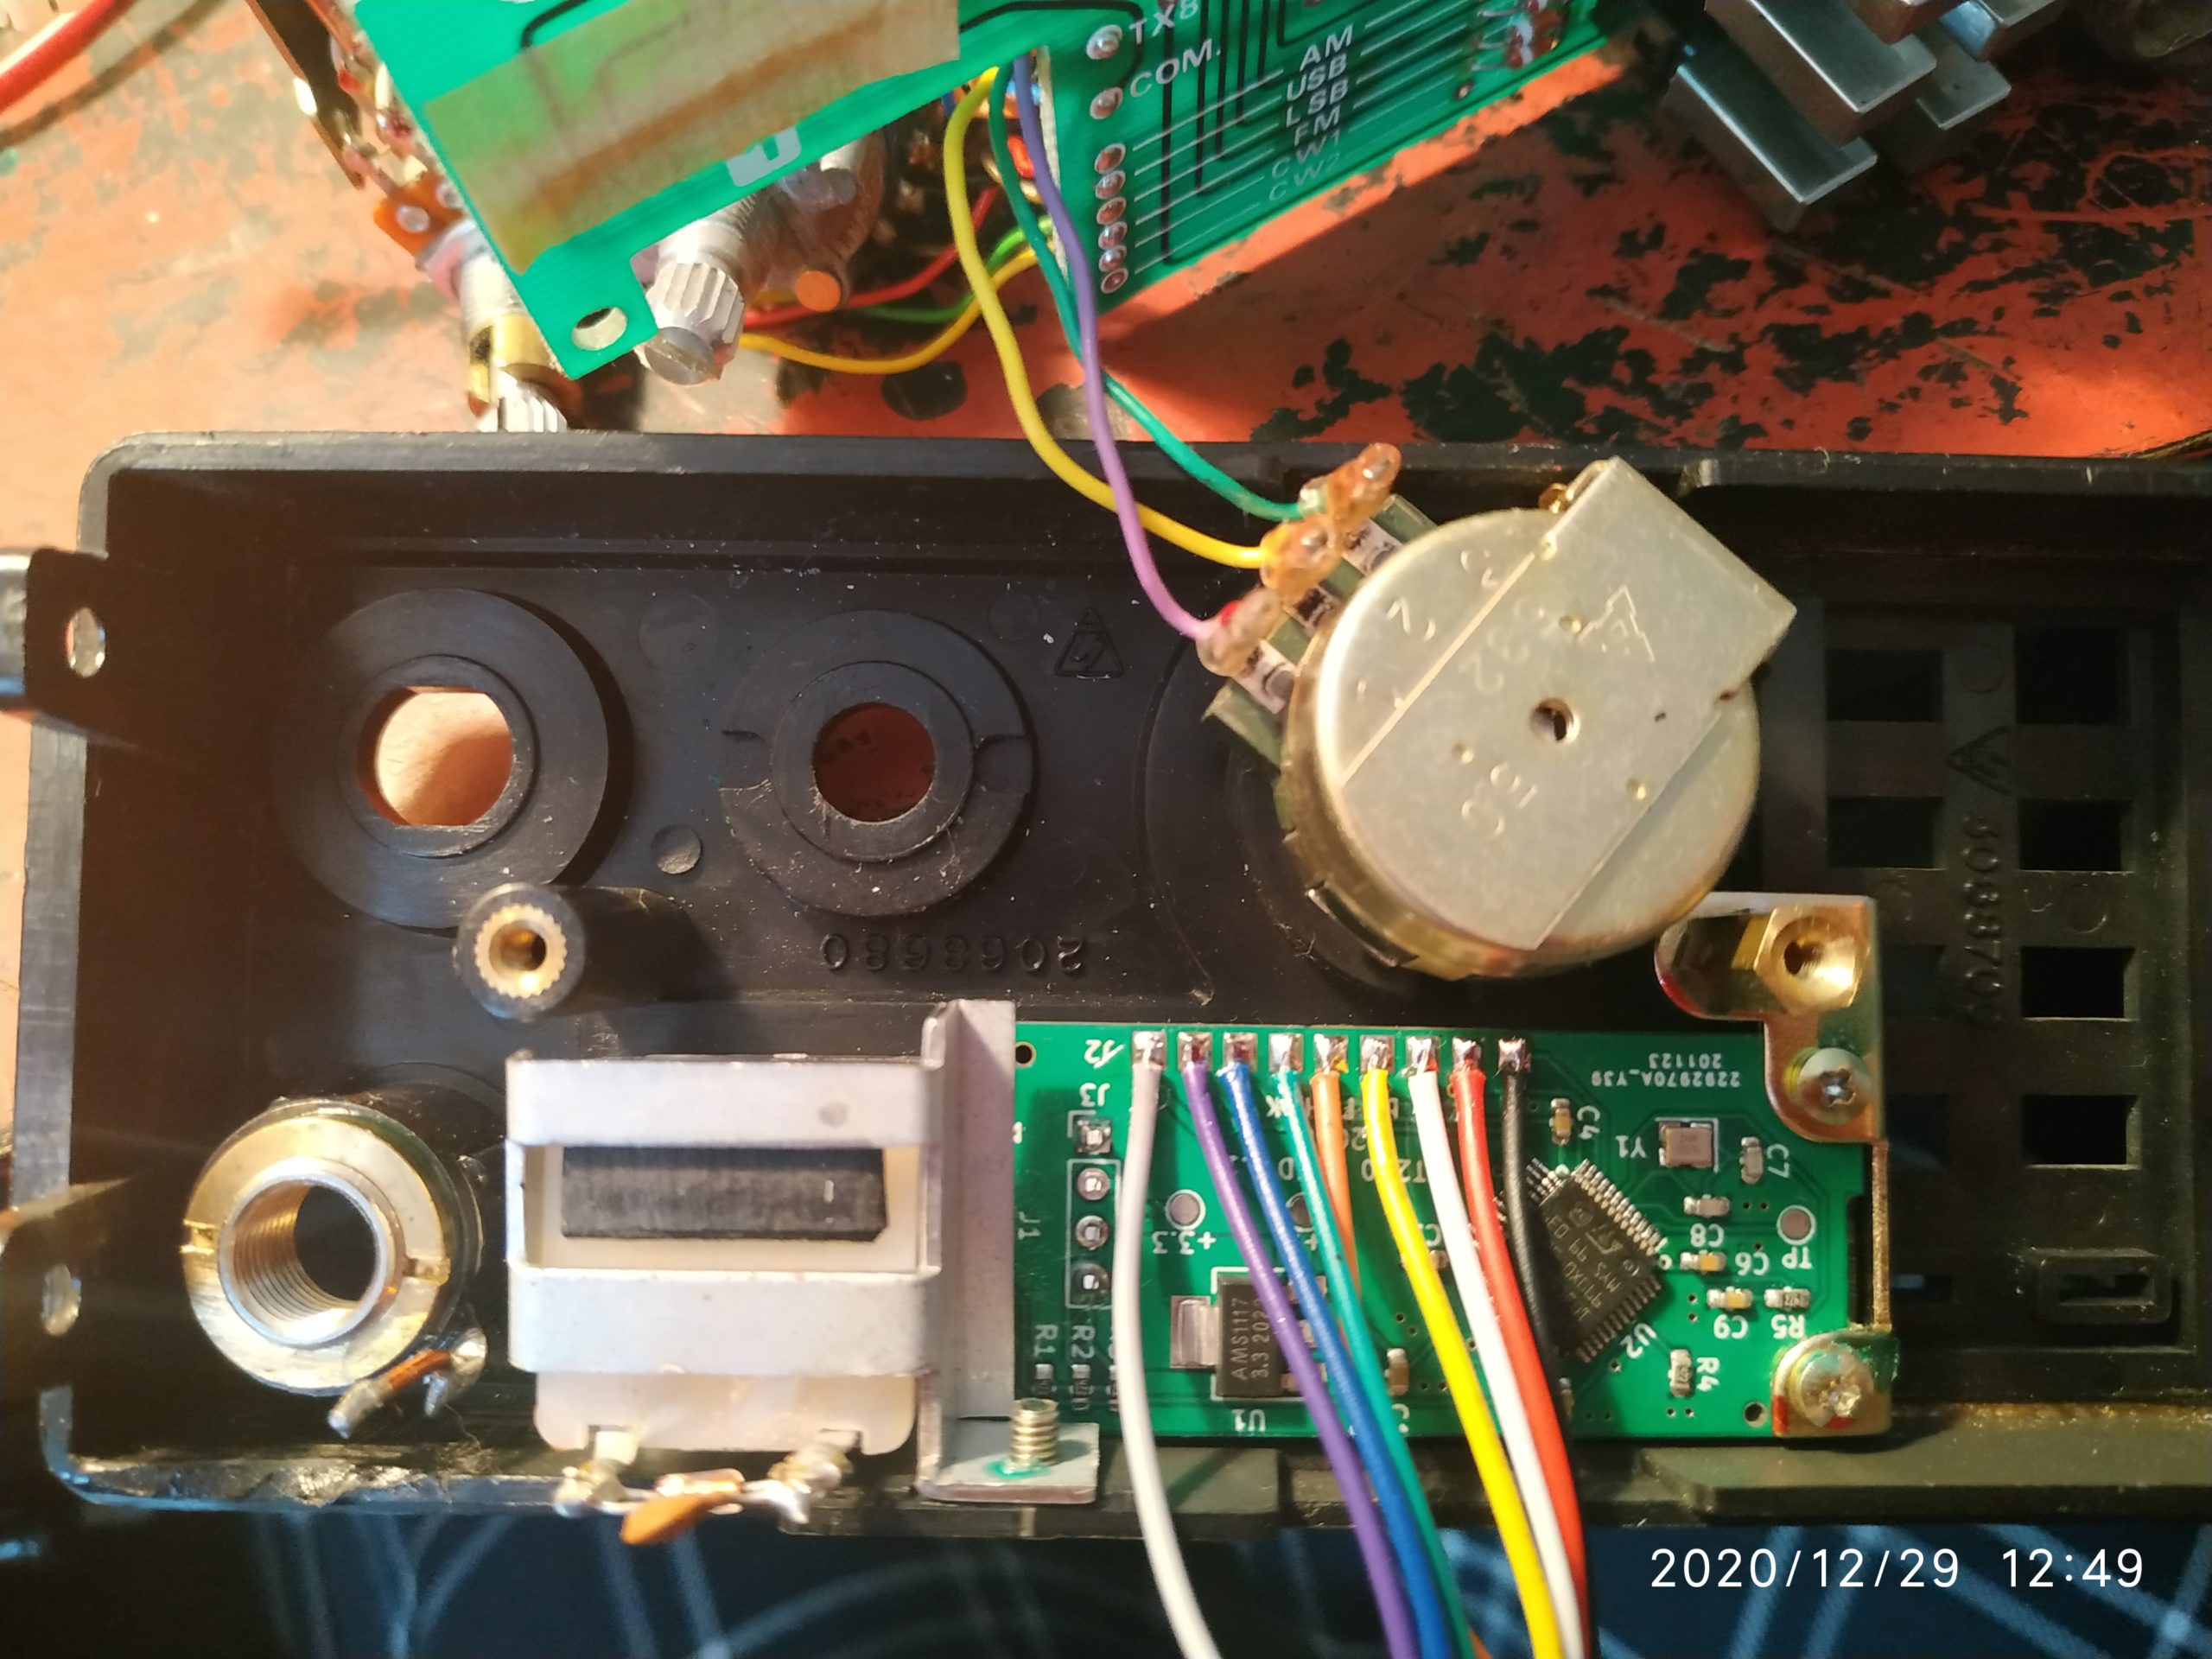
- Install the OLED module pcb in the place of the original pcb.
- Solder +12V from the step 5 to the OLED module. Please no mistakes here, +12V is going to Gray wire and the ground is the Orange wire (see photo).

- Reinstall everything back.
- Last important thing, make sure the switch on the back side of the rig is in LAMP position.
Some pictures of the installation